- Open Cubase, go to Studio > Studio Setup > MIDI Port Setup, and verify if your controller is recognized by Cubase.
- If it doesn't appear right away, try clicking on Reset. Make sure that the checkboxes "Visible" and "All MIDI Inputs" are enabled.
- Create a new audio track and insert the Plugin on it (Use the VST2 format).
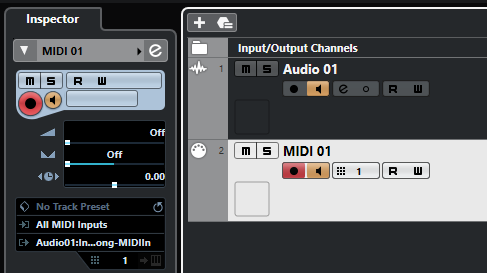
- Add a new MIDI track. On the Inspector at the left side, set the input as All MIDI Inputs or select your specific controller, then set the output as the Plugin inserted on the audio track in the previous step. Make sure that monitoring is enabled on both tracks:
After this, the process should be pretty straight forward. You can use the MIDI Learn function to control specific parameters. For example, you can switch between different presets:
- Go to the Preset Selector, pick the first preset you want to assign, right-click over it, and select Enable MIDI Learn.
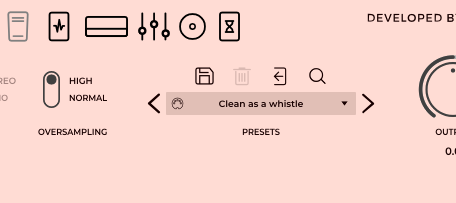
- Press the note/PC you want to assign to the preset twice and disable MIDI Learn. A MIDI icon should appear next to the preset name:
- Repeat the process with the next preset you want to assign and use a different note/PC. After this, you can continue using the MIDI Mappings window. Keep in mind that there may be an offset of notes/MIDI messages between the DAW and the Plugin (example: C2 on the Plugin = C0 on the DAW, PC0 on the Plugin = PC1 on the DAW).
- You can also write the notes, PC and CC messages on the MIDI track to automate the preset/parameter changes:


